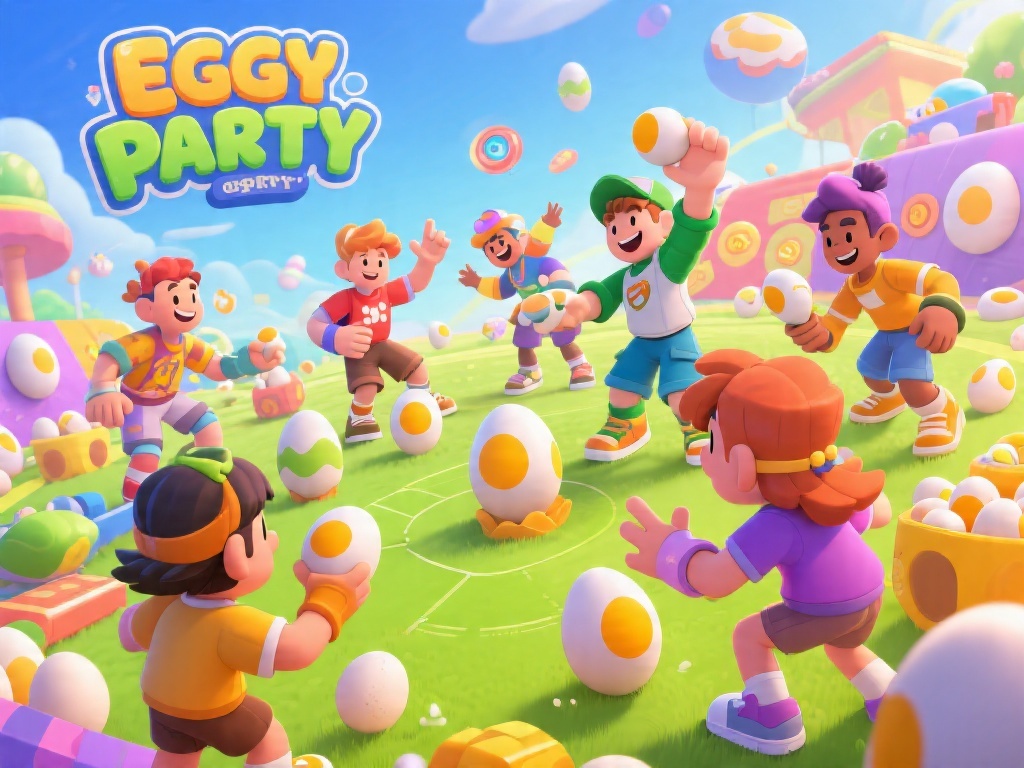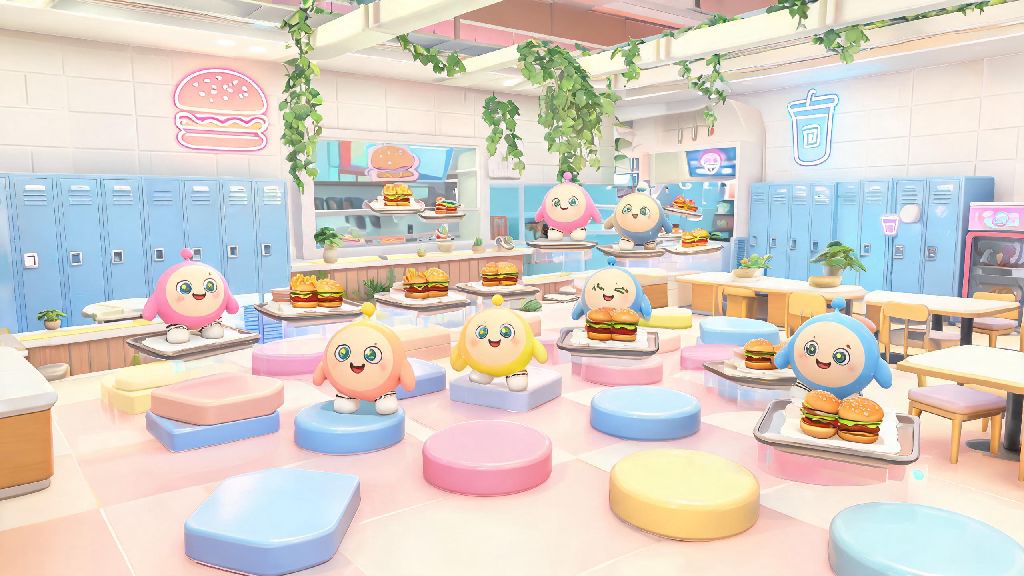
If you’ve only ever played official race and team minigames in Eggy Party, Eggy Party creative mode is a whole new side of the game you’re missing out on. I spent my first three months with the game grinding ranked matches, until a friend sent me a custom map they built that recreated our college campus complete with a silly obstacle course through the cafeteria. I was hooked instantly, and have since built 12 of my own maps, two of which have racked up over 100,000 global plays. This guide breaks down everything I’ve learned along the way, no prior design experience required.
What You Can Do With Eggy Party Creative Mode
At its core, the creative mode toolkit lets you build fully custom maps from scratch, with no coding or design skills needed. The asset library currently has over 1,200 pre-made items you can drag and drop, from basic platform blocks and moving obstacles to decorative plants, neon signs, and even interactive trap items. You can also upload custom sound effects and background music to match your map’s theme. You don’t need any prior game design experience to build a playable, fun map – many of the most popular maps on the platform are made by casual players who just wanted to make something silly for their friends.
You’re not limited to just race maps, either. Some of the most viral custom maps I’ve played are puzzle maps where you have to solve riddles to progress, horror maps with subtle jump scares, trivia maps focused on pop culture, and even open-world roleplay maps with no win condition at all. I once spent 25 minutes exploring a map that recreated the entire setting of my favorite 2000s cartoon, just looking for Easter eggs the creator hid around the world. That’s the best part of the mode: you can make whatever you want, not just what the official game offers.
The mode also lets you adjust core game rules for your map, like how many lives players get, how fast they move, or whether they can attack each other. If you want to make a chaotic team deathmatch map set in a candy-themed castle, you can do that. If you want to make a slow, relaxing exploration map where players collect flowers with no pressure, you can do that too.
Essential Pre-Build Prep for First-Time Creators
It’s tempting to jump straight into the editor and start placing blocks as soon as you open creative mode, but I’ve learned that a little prep work saves you hours of frustration later. My first map was a messy mix of jungle parkour and space puzzles that I built with no plan, and it got a 2.1 star rating after 100 plays for being confusing and inconsistent. These are the three steps I follow now before I open the editor for any new map:
You should also decide who your map is for before you start building. Are you making a map for your group of casual friends who just want to laugh and mess around? Or are you making a competitive parkour map for players who love a challenge? Adjusting your difficulty to your target audience is the easiest way to get more plays and positive ratings. I made a super hard parkour map last year that got a 4.7 star rating from competitive players, but when I shared it in my casual friend group, most of them quit after 5 minutes because it was too hard.
If you’re building for a general audience, aim for a difficulty where a new player can beat it on their third or fourth try. That balance keeps it fun enough for casual players, but still challenging enough that people don’t get bored immediately.
Pro Building Tricks to Make Your Map Stand Out
Once you have your layout planned, you can start placing assets in the editor. The drag and drop system is really intuitive, but there are a few tricks most new creators miss that make your map feel way more polished. First, don’t just place assets flat on the ground – layer them to add depth. You can place small ferns on top of rock formations, hang string lights between two pillars, or stack snack carts and benches around a start line to make it feel like a real event space.
Hidden details make a huge difference too. Adding small hidden collectibles or Easter eggs boosts your map’s replay value by a huge margin – I added 3 hidden coin collectibles to my most popular parkour map, and 60% of the comments are people asking for hints to find the last one. You don’t have to make them hard to find, either: even a small rubber duck hidden behind a wall will make players feel like they found a fun secret.
Take advantage of the custom trigger feature if you want to add more dynamic elements to your map. Triggers let you set up events that happen when a player takes a specific action, like stepping on a hidden tile to open a secret shortcut, or hitting a button to activate a trap for players ahead of you. I used triggers on my trivia map to open a door to the next question only when a player steps on the tile with the correct answer. It’s a really simple tool to use, but it makes your map feel way more interactive than a basic static course.
Before you publish your map, playtest it at least 5 times yourself, then send it to 2 or 3 friends to test too. Pay attention to parts where you or your friends get stuck for more than a minute, or parts that feel boring. Don’t ignore feedback about difficulty spikes – even the most creative map will get low ratings if players get stuck on the same obstacle for 10 minutes. I once had to remove a really cool spinning obstacle from one of my maps because 8 out of 10 playtesters couldn’t get past it, even after 10 tries. It was my favorite part of the map, but removing it made the whole experience way better for most players.
How to Get More Plays on Your Published Maps
Once you’ve spent time building and refining your Eggy Party creative mode map, the last step is getting it in front of players. The first thing to do is pick the correct category tag when you publish. Don’t mark a puzzle map as a race map just because race maps get more traffic – that will just lead to players clicking on your map expecting a race, leaving a bad review when they realize it’s a puzzle, and moving on. The algorithm prioritizes maps with high ratings, so getting your map in front of the right audience is way more important than getting it in front of a big audience.
Write a clear, honest description that tells players exactly what to expect from your map. If it’s a horror map, mention if there are jump scares so players who don’t like that can skip it. If it’s a casual roleplay map with no win condition, say that explicitly so players don’t get confused looking for a finish line. Adding 3-4 high-quality screenshots of your map’s most unique areas will double the number of clicks your listing gets, according to my own testing. Blurry, dark screenshots of the start line won’t convince anyone to click, so take screenshots of your Easter eggs, coolest obstacles, and prettiest decorative areas.
Share your map in Eggy Party community spaces like the official Discord server, Reddit’s r/EggyParty sub, or TikTok if you make gaming content. Don’t just spam links, though – leave feedback on other creators’ maps first, ask for specific feedback on your own, and engage with the community. I’ve gotten thousands of plays on my maps just from sharing them in small creator groups, and I’ve made a lot of friends who build maps too.
You can also update your map after publishing, which a lot of creators don’t realize. If you get a bunch of comments saying a certain part is too hard, or there’s a bug that lets players skip half the course, you can edit the map and push an update. Players really appreciate when creators listen to feedback, and it will help your map get more positive ratings over time.
At the end of the day, the best part of Eggy Party creative mode is that there’s no right or wrong way to use it. Your first map doesn’t have to get 100,000 plays to be a success – if you and your friends have 30 minutes laughing your way through a messy obstacle course you built, that’s a win. Don’t be afraid to experiment, try weird ideas, and learn as you go. You might end up making something that thousands of people love, or you might just make a fun memory with your friends. Either way, it’s worth trying.